






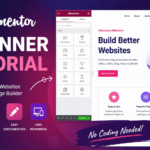




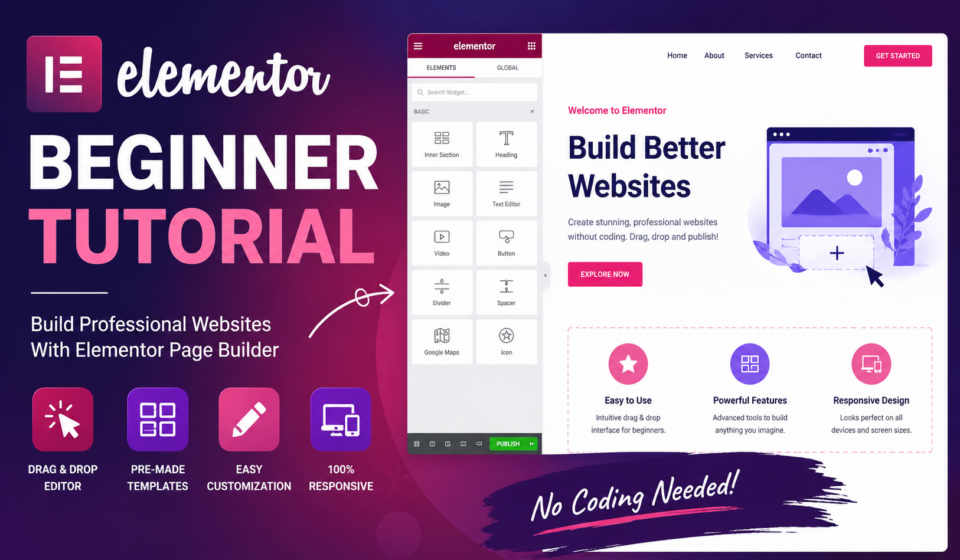
Elementor Beginner Tutorial
Building a professional website has never been easier. Just a few years ago, creating a beautiful website required learning HTML, CSS, JavaScript, and PHP. Today, thanks to page builders like Elementor, anyone can design stunning websites without writing a single line of code.
Whether you’re a freelancer, blogger, small business owner, or someone who wants to learn web design, Elementor is one of the best tools available.
In this complete beginner tutorial, you’ll learn everything you need to know about Elementor—from installation to creating your first professional webpage.
Let’s get started.
What is Elementor?
Elementor is a drag-and-drop page builder plugin for WordPress. It allows users to build beautiful websites visually instead of editing code.
Instead of writing HTML or CSS, you simply drag widgets onto the page and customize them using an easy-to-use interface.
Today, Elementor powers millions of WordPress websites worldwide because it is:
- Beginner-friendly
- Fast to learn
- Highly customizable
- Mobile responsive
- Compatible with most WordPress themes
Why Choose Elementor?
There are many page builders available today, but Elementor stands out because of its flexibility and ease of use.
Advantages
- No coding required
- Real-time visual editing
- Responsive design controls
- Hundreds of templates
- Drag-and-drop interface
- Large community support
- Regular updates
- Works with WooCommerce
- SEO friendly
- Beginner friendly
Elementor Free vs Elementor Pro
One of the first questions beginners ask is whether the free version is enough.
Elementor Free Includes
- Drag-and-drop editor
- Basic widgets
- Responsive editing
- Templates
- Landing pages
- Basic styling options
For many beginners, the free version is more than enough.
Elementor Pro Includes
- Theme Builder
- Popup Builder
- WooCommerce Builder
- Form Builder
- Motion Effects
- Custom Fonts
- Dynamic Content
- Advanced Widgets
- Role Manager
If you’re creating websites professionally, Elementor Pro is worth the investment.
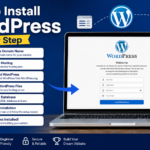
Installing Elementor
Installing Elementor takes only a few minutes.
Step 1
Login to your WordPress dashboard.
Navigate to:
Plugins → Add New
Search for:
Elementor Website Builder
Click:
Install Now
Then click:
Activate
Congratulations!
Elementor is now installed.
Understanding the Elementor Interface
Open any page and click:
Edit with Elementor
You’ll see two sections.
Left Panel
This contains all widgets and settings.
Examples include:
- Heading
- Image
- Button
- Video
- Icon
- Spacer
- Divider
- Text Editor
Right Panel
This is the live preview of your page.
Everything you edit appears instantly.
Elementor Structure Explained
Understanding Elementor’s hierarchy makes designing much easier.
The structure is:
Page
↓
Sections (or Containers)
↓
Columns (if using classic layout)
↓
Widgets
Think of it like building a house.
- Page = Land
- Section = Room
- Column = Furniture placement
- Widget = Furniture
Your First Elementor Page
Let’s build a simple homepage.
Step 1: Add a Heading
Drag the Heading widget.
Type:
Welcome to My Website
Change:
- Font
- Size
- Weight
- Color
Step 2: Add Text
Drag the Text Editor widget below the heading.
Write a short introduction.
Example:
“Helping businesses grow online with modern websites.”
Step 3: Add an Image
Drag the Image widget.
Upload an image from your computer.
Adjust:
- Width
- Border radius
- Alignment
Step 4: Add a Button
Drag the Button widget.
Button Text:
Get Started
Add your website URL.
Customize:
- Background color
- Text color
- Hover effect
- Border radius
Step 5: Publish
Click the green Publish button.
Your page is now live.
Elementor Widgets Explained
Widgets are the building blocks of every page.
Here are the most commonly used ones.
Heading
Displays page titles.
Text Editor
Adds paragraphs.
Image
Uploads photos and graphics.
Button
Creates clickable buttons.
Spacer
Adds spacing between elements.
Divider
Creates horizontal lines.
Video
Embeds YouTube or Vimeo videos.
Icon
Adds Font Awesome icons.
Google Maps
Displays maps.
Social Icons
Links to social media profiles.
Containers vs Sections
Modern Elementor uses Flexbox Containers instead of traditional sections and columns.
Containers offer:
- Better performance
- Faster loading
- More flexible layouts
- Cleaner HTML
- Easier responsive design
If you’re learning Elementor in 2026, it’s recommended to use Containers.
Customizing Your Design
Every widget has three tabs.
Content
Edit the actual content.
Example:
- Heading text
- Image
- Button label
Style
Customize appearance.
Options include:
- Colors
- Typography
- Borders
- Shadows
- Backgrounds
Advanced
Additional settings include:
- Margins
- Padding
- Motion effects
- CSS classes
- Responsive visibility
- Positioning
Understanding Margin and Padding
This is one of the biggest beginner challenges.
Margin
Space outside an element.
Think of it as distance between boxes.
Padding
Space inside an element.
Think of it as breathing room around content.
Mastering these two settings dramatically improves your designs.
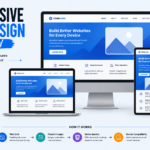
Responsive Editing
Most visitors use smartphones.
Elementor allows you to edit separately for:
- Desktop
- Tablet
- Mobile
Simply click the responsive icon.
You can change:
- Font size
- Margins
- Padding
- Alignment
- Width
Without affecting desktop design.
Elementor Templates
Instead of designing from scratch, you can import templates.
Click:
Add Template
Choose from:
- Landing Pages
- About Pages
- Contact Pages
- Homepages
- Portfolios
- Services
Templates save hours of work.
Global Colors
Instead of changing colors everywhere, create global colors.
Example:
Primary
#0A84FF
Secondary
#222222
Accent
#FF6B35
Now changing one global color updates the entire website.
Global Fonts
Similarly, create global typography.
Example:
Headings
Poppins
Body
Roboto
Maintaining consistent typography improves professionalism.
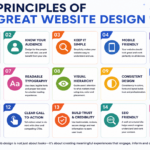
Best Practices for Beginners
Keep Designs Simple
Avoid unnecessary animations.
Simple websites convert better.
Use White Space
Don’t cram everything together.
White space improves readability.
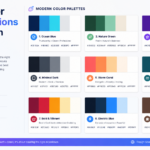
Limit Colors
Use only 2–3 primary colors.
Too many colors look unprofessional.
Use Consistent Fonts
Stick to:
- One heading font
- One body font
Optimize Images
Large images slow websites.
Compress images before uploading.
Recommended formats:
- WebP
- JPEG
- PNG
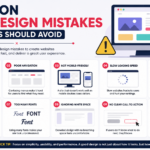
Common Beginner Mistakes
Using Too Many Widgets
Less is more.
Ignoring Mobile Design
Always check mobile view before publishing.
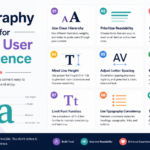
Poor Typography
Avoid tiny fonts.
Recommended:
Body text
16–18px
Too Much Animation
Animations should support the content, not distract from it.
Not Saving Changes
Click:
Update
Frequently.
Keyboard Shortcuts
These improve productivity.
Ctrl + Z
Undo
Ctrl + Shift + Z
Redo
Ctrl + S
Save
Ctrl + C
Copy widget
Ctrl + V
Paste widget
Right-click also provides many useful options.
Speed Optimization Tips
Fast websites rank better on Google.
Tips:
- Use lightweight themes
- Compress images
- Limit plugins
- Enable caching
- Use a CDN
- Optimize fonts
- Minimize animations
SEO Tips for Elementor Websites
Elementor itself is SEO-friendly, but follow these best practices:
- Use one H1 heading per page.
- Structure content with H2 and H3 headings.
- Write descriptive meta titles and descriptions.
- Add alt text to every image.
- Keep URLs short and readable.
- Link to relevant internal pages.
- Optimize page speed and Core Web Vitals.
Creating Your First Landing Page
A basic landing page might include:
- Hero section with a headline and call-to-action.
- Features or benefits section.
- Testimonials.
- About your business or service.
- Pricing (if applicable).
- Frequently Asked Questions.
- Contact form or call-to-action.
Elementor’s drag-and-drop interface makes arranging these sections straightforward, and you can start with a template to speed up the process.
Practice Projects for Beginners
To build confidence, try creating these websites:
- Personal Portfolio
- Business Homepage
- Restaurant Website
- Gym Website
- Travel Blog
- Online Course Landing Page
- Agency Website
- Freelancer Portfolio
- Local Business Website
- Photography Portfolio
Each project will help you explore different Elementor widgets and layout techniques.
Final Thoughts
Elementor has transformed the way people build WordPress websites. Its intuitive drag-and-drop editor, responsive controls, and extensive customization options make it an excellent choice for beginners and professionals alike.
The best way to learn Elementor is through practice. Start with simple pages, experiment with widgets, and gradually incorporate more advanced features as your skills grow. Focus on clean layouts, readable typography, mobile responsiveness, and fast-loading pages.
With consistent practice, you’ll be able to create professional, high-converting WordPress websites without writing code. Whether your goal is to launch your own website, freelance, or build sites for clients, mastering Elementor is a valuable skill that can open many opportunities.
Frequently Asked Questions (FAQ)
Is Elementor good for beginners?
Yes. Elementor is one of the most beginner-friendly WordPress page builders because it uses a visual drag-and-drop interface and requires no coding knowledge.
Do I need Elementor Pro to build a website?
No. The free version is powerful enough for many personal and business websites. Elementor Pro adds advanced features like Theme Builder, Forms, and WooCommerce Builder.
Can Elementor work with any WordPress theme?
Elementor works with most modern WordPress themes, though lightweight themes optimized for Elementor typically provide the best performance.
Does Elementor slow down a website?
It can if used with too many heavy widgets or unoptimized images. Following performance best practices—such as image compression, caching, and limiting unnecessary animations—helps keep your site fast.
How long does it take to learn Elementor?
Most beginners can learn the basics in a few hours. With regular practice over a few weeks, you’ll be comfortable creating professional-looking websites and landing pages.
